How to remove and install the throttle control potentiometer G584

AvtoAd
08/08/2022
We need the following devices for the procedure:
1. Manual vacuum pump -VAS 6213- or manual vacuum pump -VAG1390-

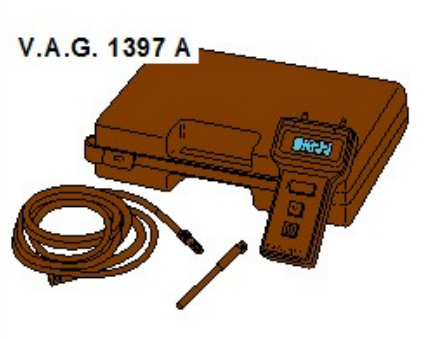
2. Turbocharger tester -VAG 1397A-
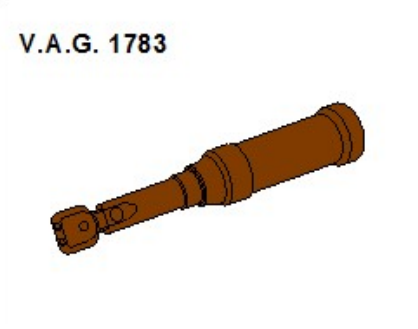
3. Torque wrench -VAG 1783- with a 10 mm socket -VAG 1783/1-
4. Tester.
To remove the potentiometer and install the control valve G584, you need to do the following:
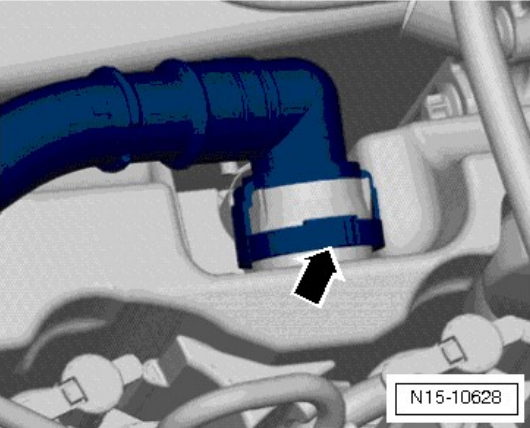
1. Disconnect the tube on the cylinder head cover:
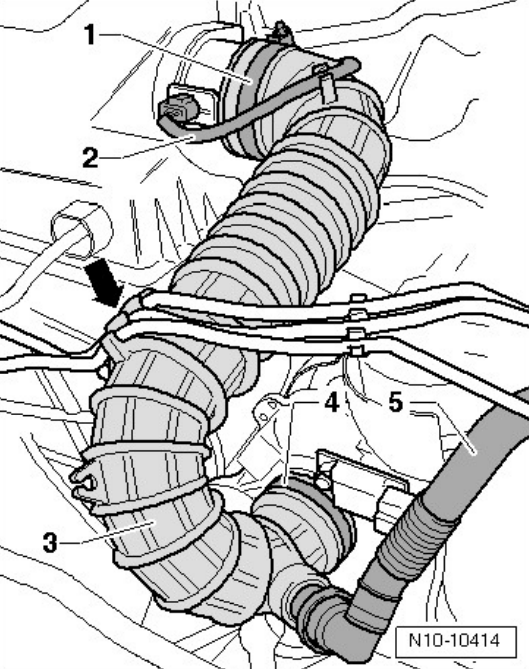
2. Remove the hoses from the holder of the connecting hose ( 3 ).
3. Unlock and disconnect the wire harness connector ( 2 ). Connect the wiring harness ( 2 ) to the hose holder ( 3 ).
4. Open the clamps ( 1 ) and ( 4 ).
5. Remove the connecting hose ( 3 ).
6. Disconnect the hose from the potentiometer of the regulating valve G584 ( 2 ).
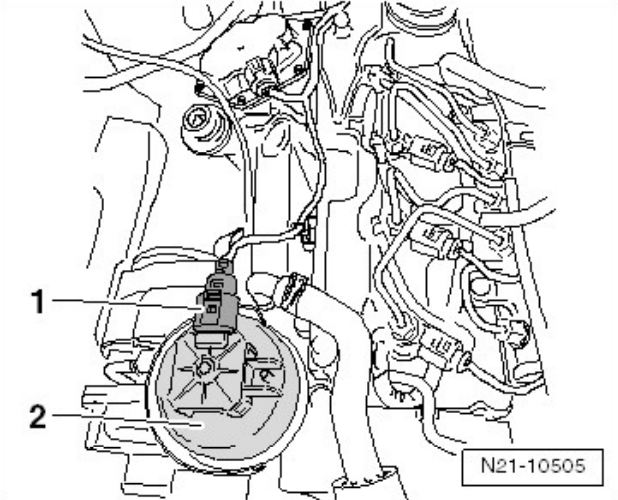
7. Disconnect the connector ( 1 ) from the potentiometer of the regulating valve G584 ( 2 ).
8. Plug the hole ( 3 ) on the turbocharger with a cover.
9. Squeeze the locking clip on the adjustable rod.
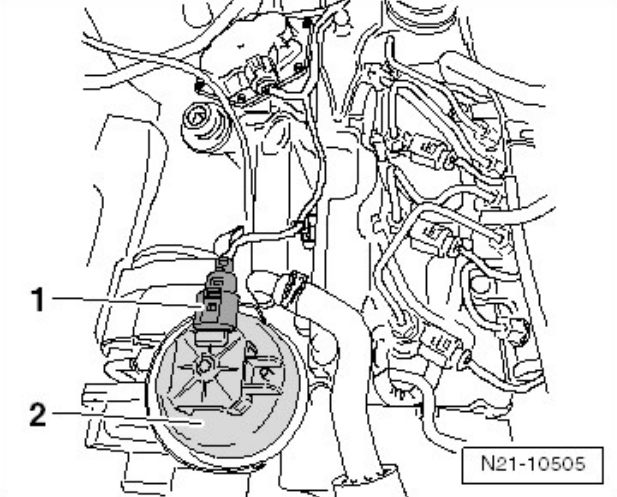
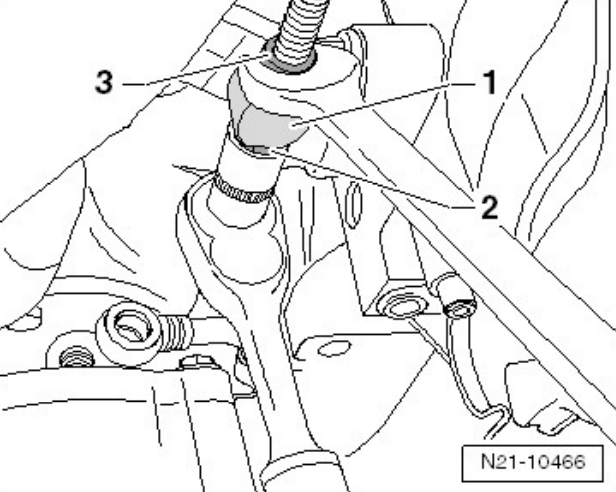
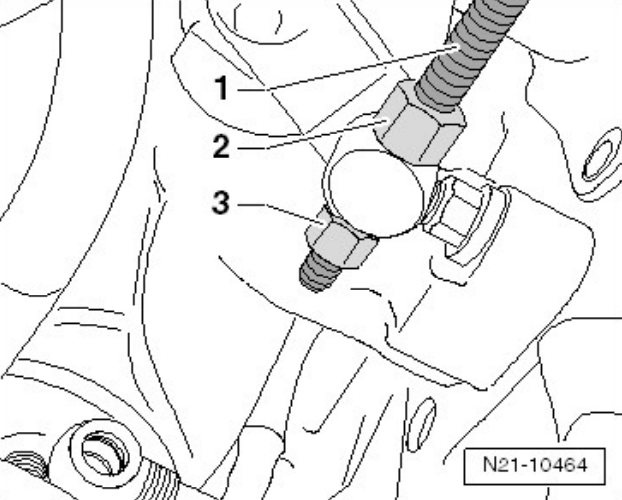
10. We loosen the fastening nut ( 2 ) of the regulating rod and turn it completely.
11. We hold the locknut ( 3 ) with an angle wrench.
12. Unscrew the G584 regulator valve potentiometer ( 1 ) with the holder ( 2 ) from below on the turbocharger mounting (3 nuts).
13. Remove the control valve potentiometer G584 with the holder up.
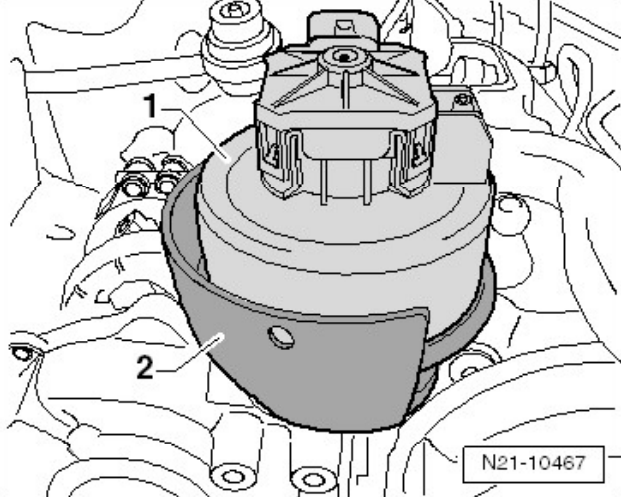
Important : when replacing the control valve potentiometer G584, use only new nuts from the repair kit.
14. Thoroughly clean the contact surfaces of the G584 control valve potentiometer ( 3 ) and the holder ( 2 ).
15. We also thoroughly clean the fastening of the G584 regulating valve potentiometer on the turbocharger.
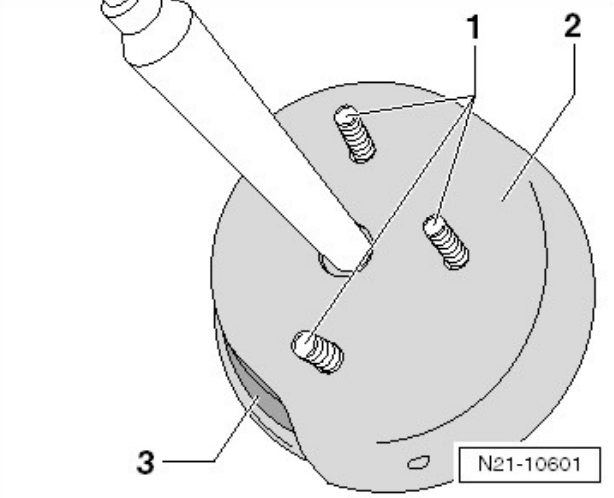
16. We install the G584 control valve potentiometer and pass the control rod ( 1 ) through the control lever to the turbocharger, as shown in the figure.
17. We install the G584 control valve potentiometer with new nuts from the repair kit ( 4 ) on the turbocharger fasteners and tighten.
18. Turn the fastening nut ( 2 ) by hand on the adjustable rod in the direction of the vacuum drive.
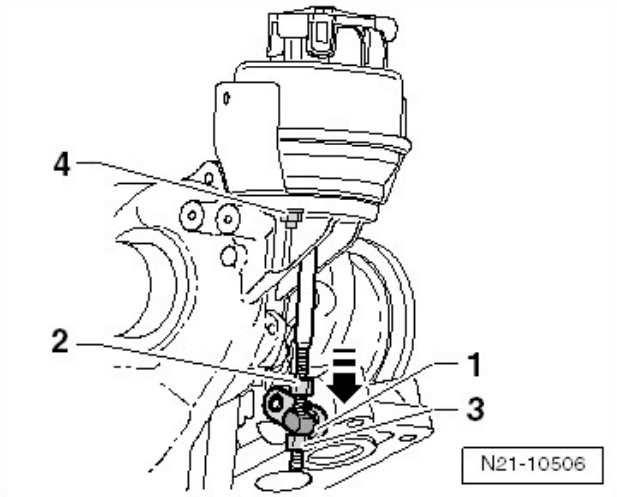
Important : it is necessary to ensure that the movement of the guide lever ( 1 ) of the damper along the regulating rod is easy.
19. Connect the connector ( 1 ) to the potentiometer of the control valve G584 ( 2 ).
20. Connect the tester.
21. We calculate the measured values.
22. Sequentially select the following functions on the display:
- bypass valve;
- turbocharger;
- high pressure;
- turbine input;
- resting voltage;
- "Q" (confirmation).
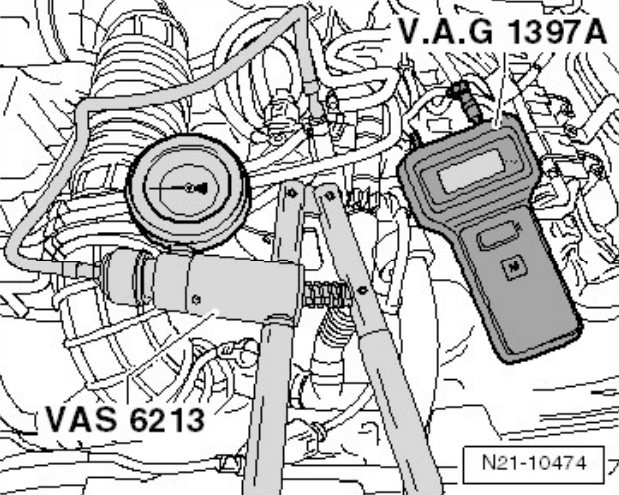
23. We connect the turbocharger tester -VAG 1397A- and the manual vacuum pump -VAS 6213- or the manual vacuum pump -VAG 1390 - with a tee to the vacuum connection ( 1 ) of the potentiometer of the regulating valve G584.
24. Turn on the VAG 1397A turbocharger tester and move the shifter on the tester to position II .
25. Apply a vacuum of 500 ± 50 mbar to the potentiometer of the regulating valve G584.
26. Move the damper lever ( 1 ) on the turbocharger in the direction of the arrow to the "closed" position and hold it in this position.
27. Turn the fastening nut ( 3 ) in the direction of the vacuum drive until it touches the valve lever ( 1 ).
28. We continue to rotate the fastening nut ( 3 ) until the voltage value (0.75 volts ± 0.02 volts) of the G584 control valve potentiometer is established.
29. Tighten the lock nut ( 2 ).
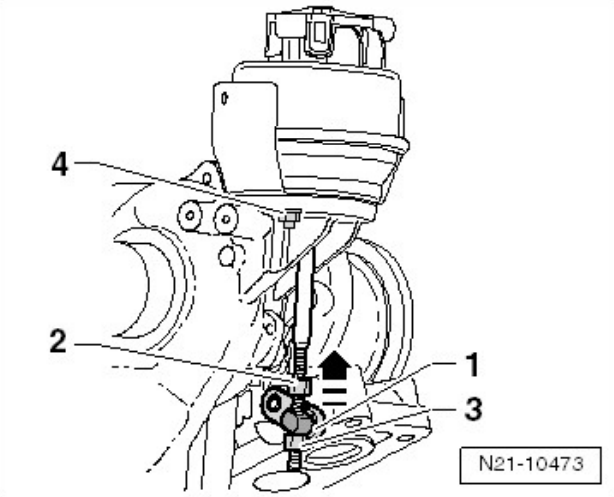
Important : the adjusting rod must not turn. Hold the nut ( 2 ).
30. Slowly release the vacuum, move the damper lever ( 1 ) in the direction of the arrow - "open".
31. We again apply a vacuum of 500±50 mbar to the potentiometer of the regulating valve G584.
32. We again check the adjustment position using the voltage value (0.75 ± 0.02 volts) of the G584 control valve potentiometer, if necessary, adjust again. Slowly reset the rarefaction.
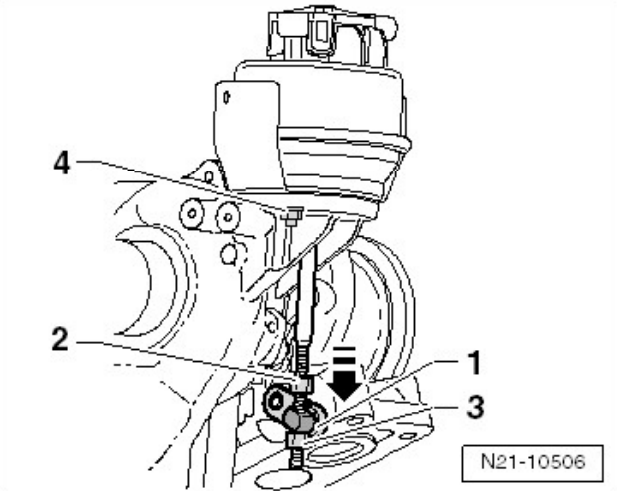
Important : now the damper lever ( 1 ) should touch the stop. If the lever does not fit to the stop, the adjustment should be performed again until the adjustment values coincide with the required ones.
33. We fix the fastening nut and lock nut with special varnish (cerumin) from the repair kit.
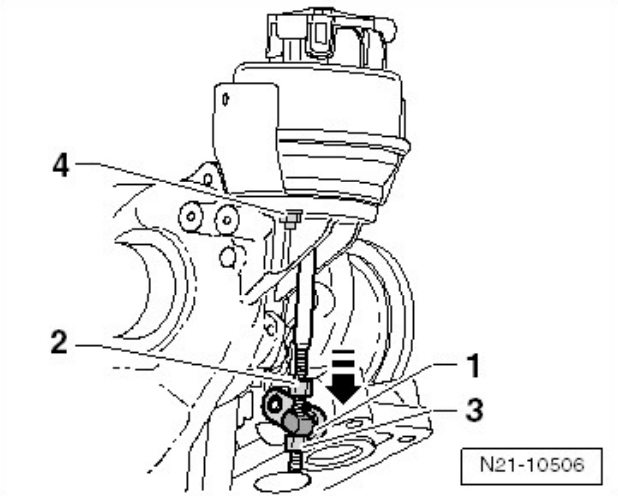
34. Put the locking clip from the repair kit on the adjusting rod and turn it 90° in the direction of the arrow.
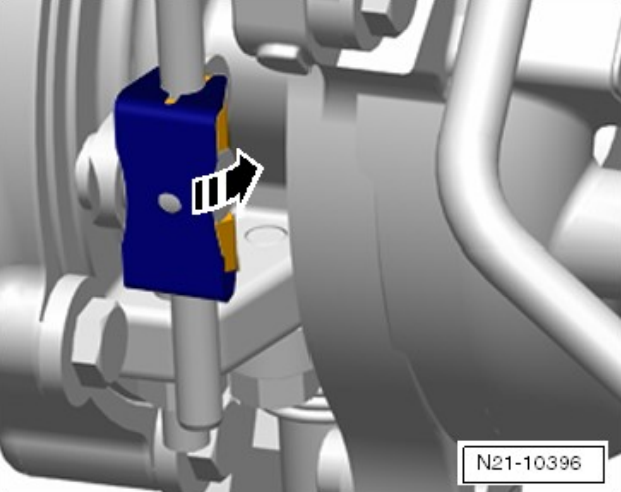
Tightening torque:
Lock nut of the regulating thrust - 8 Nm.
Potentiometer nut - 8 Nm.